After studying a portion of Hanna Muller's work in great detail, I feel that I have become familiar with her unique style. I am now going to attempt producing my own illustration in the style of Hanna Muller. I decided to hand draw my illustration before painting it using watercolours and my finished piece is shown below. I chose this pose as I felt that it reflected Hanna's subdued illustrations and I tried to maintain the mysterious expression which is often featured on her drawings. Most of Hanna's illustrations are completed using monochrome tones however she usually has one item of clothing in colour which is why I decided to use this technique on my illustration by colouring the jacket in pink.
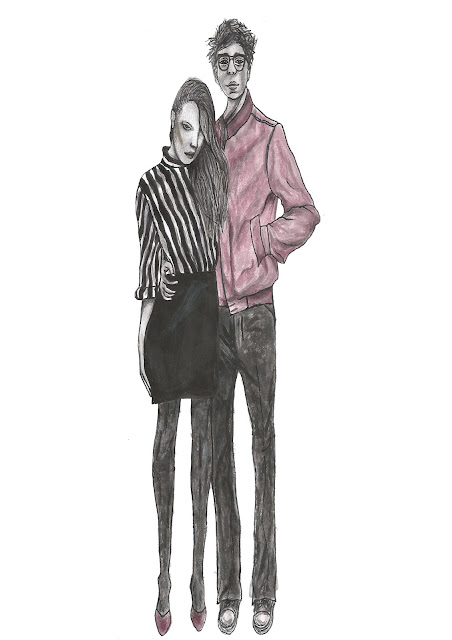 |
My final illustration in the style of Hanna Muller which
has been completed by hand using watercolour paints |
I feel that my illustration successfully represents a similar style to Hanna's however I would like to manipulate it further on Photoshop. Even though Hanna does not use computerised programmes to create her illustrations, I would like to experiment as I feel that this could help me to improve my illustration. Although I am keen to alter my illustration using Photoshop, I do not want to completely lose the 'sketchy' effect of my original watercolour illustration as this is what makes Hanna's drawing iconic. I have therefore decided that I am going to scan and edit my original illustration as this will allow me to maintain create a new illustration, using my original illustration as a basis.
I started by opening up a new page in the Photoshop programme before setting up my paintbrush and smudge tool using number 23. I also selected shape dynamics, scattering and smoothing, however I had to make amendments to the shape dynamics option by adjusting the size jitter to 20% and ensuring that the minimum diameter and angle jitter were both set at 10% as shown in the screenshot below.
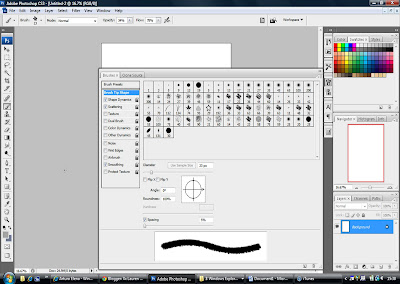 |
| Screenshot illustrating the brush set up process |
After scanning my watercolour illustration, I began by opening the image in Photoshop and dragging it onto my 'new' page. I then began by creating a new layer before starting to create an outline of my illustration. I also outlined the facial details and the hair on my illustration as displayed in the screenshot below.
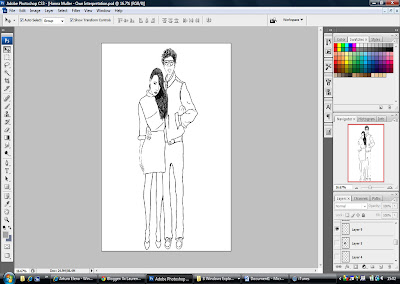 |
| Screenshot which shows an outline of my illustration |
I proceeded by creating another new layer before starting to paint on the trousers using my own original illustration as a guide. I applied different tones of greys and blacks to create the shading effect, using my own original illustration as a guide. After applying an appropriate amount of colour, I then selected the smudge tool which essentially represents water. This tool allows me to blend my paints to create the shading and gives watercolour effect.
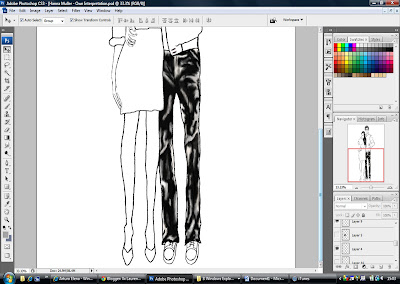 |
Screenshot showing the colour which was painted onto
the trousers and blended using the smudge tool |
I repeated this process for the skirt and the jacket, adding new layers for each garment before applying the paint and finally using the smudge tool to blend.
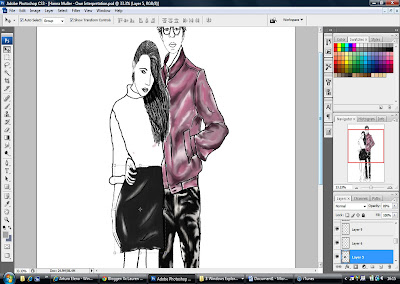 |
Screenshot illustrating the skirt and jacket which have been
painted & blended in the same way as the trousers |
I then used the same technique to to create the striped top however I had to work on the white and black stripes on different layers to prevent me from blending the two colour together when using the smudge tool.
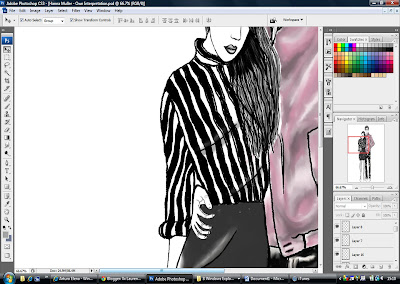 |
| Screenshot showing the detail which was added to the top |
I then created yet another new layer and used a small sized paintbrush to create swirls and detail for the tights on my illustration and this process is demonstrated below in the screenshot.
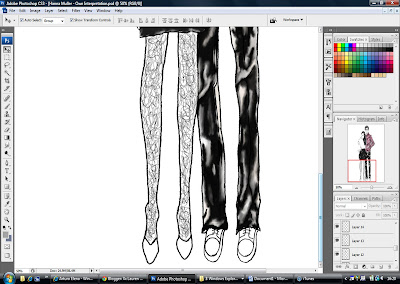 |
Screenshot showing the detail which was added to
the tights on my illustration using the paintbrush |
The final stage of my illustration is the skin tone and the footwear and I decided to use a different method for these features. In order to complete these details I selected layer 1 which is my original hand-painted illustration. I then selected the smudge tool and began to blend the skintone, before moving onto the footwear. I think that this technique worked very well.
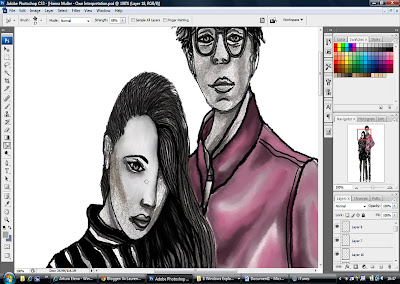 |
| Screenshot which shows the process of blending the skin tone |
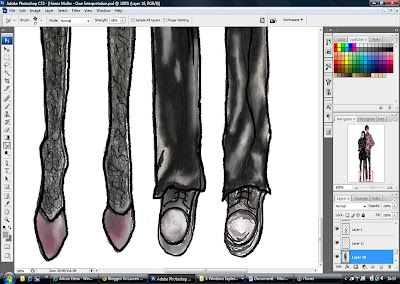 |
| Screenshot illustrating the blending of the footwear |
Now that the illustration is complete, I decided to experiment by reducing the opacity on certain layers as this would mean that my Photoshop work would still be seen however my original illustration would be partially revealed underneath which would help to add to the texture of the illustration. I also felt that this technique would prevent my illustration from looking too computerised as this is not Hanna's style. I have demonstrated the reduced opacity technique in the two screenshots shown below.
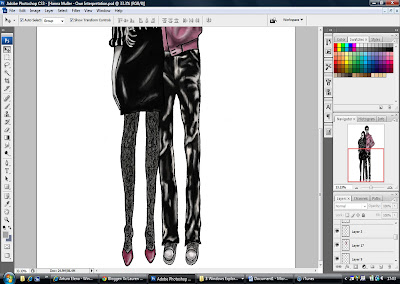 |
| Screenshot showing the illustration at maximum opacity |
 |
| Screenshot showing the illustration at reduced opacity |
As you can see from the screenshots, when the opacity is set at its maximum, the illustration is very bold and Hanna's illustrations have a muted tone to them therefore I felt that reducing the opacity would be better suited to her style of work.
My finished illustration is shown below and I am really very pleased with the outcome. I feel that I have been successful in conveying Hanna's style whilst demonstrating my own interpretation of her work.
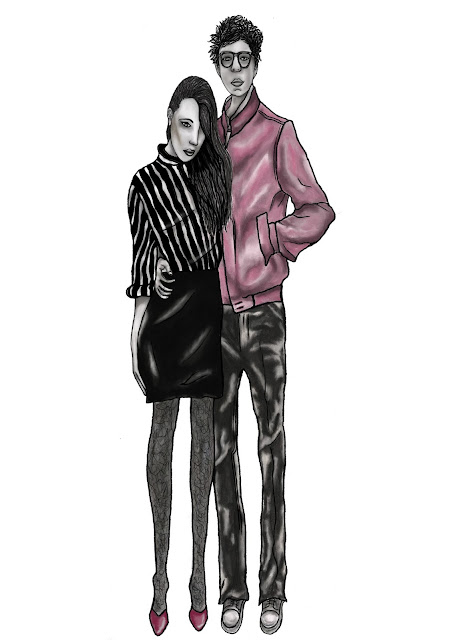 |
My final illustration which has been completed in the style of
Hanna Muller using watercolour paints and Photoshop |


No comments:
Post a Comment